The Procion MX dyes come in a wide variety of colours, and I’ve been slowly purchasing different colours as I spotted them on sale during the year. I used different dyes for the 3 different buckets that I set up:
Waikerie Shirt: bubblegum, hot pink, brown rose
Seersucker: magenta, burgundy, chocolate brown, warm black
Viscose Knit: pale aqua, aquamarine, hot pink, emerald
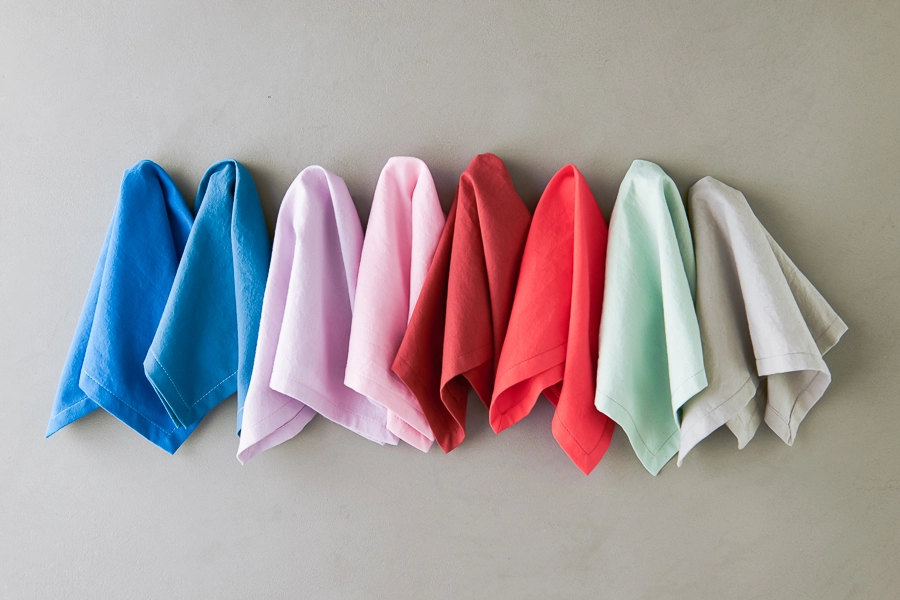
You can see below how the colours split- the blue and yellow spots came from my Waikerie Shirt bucket which was 3 different shades of pink!
Rinse & wash
Once your ice has melted, rinse in cold water till the water runs clear. Jacquard, the company who makes the Procion MX dyes, recommends rinsing in increasingly warm water until it’s as hot as you can stand. Then you want to wash in the washing machine on a hot cycle. You can use a product like Synthrapol or other soap meant for dyeing (I recommend different products in my 2-page PDF on ice dyeing).
Although there wasn’t many white-spots on the fabric after the ice had melted, after the rinsing and the wash, a lot of the excess colour had washed out and had left me with some nice undyed sections, which I’m pleased about.
Is Ice dyeing the perfect summer project? I’ve been planning to give it a whirl for a while, and I finally bit the bullet, after spending quite a bit of time researching! I settled on a method of dyeing that works on natural-fibre fabrics, since that’s what I sew and wear!
The ingredients
Procion MX dyes. These are powdered dyes which work with natural fibres.
Soda ash/sodium carbonate (10g per litre of water)
Water
Ice
Soda ash solution
You can save the soaking water with the soda ash/sodium carbonate and reuse it. Next time I will put mine into a strong lidded bucket and keep it on hand.
Equipment
I basically used what I had on hand, but had also purchased some extra cake racks for the project!
Racks
You’re going to want some kind of rack that allows the water from the melting ice to drip away and not pool under your fabric.
Buckets
I used these tall buckets because they’re what I had, but also because they gave me the room to pop some old torn cotton sheets below to catch the colourful drips (more on that later). I suppose you could just let it drip onto your lawn?
Spoons
You probably also want some spoons you don’t love for sprinkling the dye on the ice. I used a kitchen spoon because I’m a rebel.
Optional cardboard rings
The corrugated cardboard & tape wraps around your fabric and helps you to pile high your ice and have it stop falling off. Next time I would make my cardboard a bit wider so that it held more ice.
Fabrics
I dyed cotton seersucker fabric, a white linen Waikerie Shirt and viscose/spandex knit. These were all pre-washed.
Preparing your fabrics
NB you should wear gloves and a mask when working with the soda ash and the procion powdered dye, basically because if you inhale it often then it’s not good.
Pre-washing?
There’s all kinds of info about washing your fabrics in something like synthrapol before soaking them in the soda ash. I did not. All of my fabrics had previously been pre-washed in the natural, low-ph, enzyme free washing powder (which is just what I always use to extend the life of my me-made clothes). So, I skipped any additional washing and I jumped straight to soaking in soda ash.
I filled a big bucket with water (which I guessed was enough to cover all the fabrics). The inside of the bucket indicated the number of litres so I added the soda ash according to the ratio 10g of soda ash per litre of water or approx 1 cup per 3.79L of water.
Stir to dissolve the soda ash (use gloves), and then pop your fabric in for 20-minutes. Gently squeeze out excess liquid, crumple into a ball and then move to the next stage.
Note: You can save soda ash solution for use over and over again if you intend to do lots of ice dyeing.
Stay tuned
Keep an eye out for the next installment, which will step you through the dyeing and rinsing process!
I’m on a sewing roundup kick and today I’ve got some more giftable sewing patterns… All of these would also make great self-gifts (that’s where you just make them for yourself…. my favourite kind of gifting)!
The Apreon
This cross-back apron comes in Small Child (3-8yrs), Smaller Adult, and the usual Muna and Broad size range (up to 71.5″ hip)
Perfect in a variety of fabrics, and with free enough sizing that it’s possible to take a punt on a size that’s close enough for someone, a dressing gown in gorgeous fabric makes for a luxurious gift!
I have 2 of these and I’m surprised by the amount of use that they get! Even if I’m eating at the table, I use my cosy to protect my fingers on the way to the table!
You can love an indoor pursuit like sewing and also enjoy the great outdoors. But, you can also be an inside cat and sew for the folks in your life who love the outdoors! Are there some goodies in here that are perfect for gifting? Absolutely!
There’s a mix of free and paid patterns in here- if they’re free, it’s specifically stated!
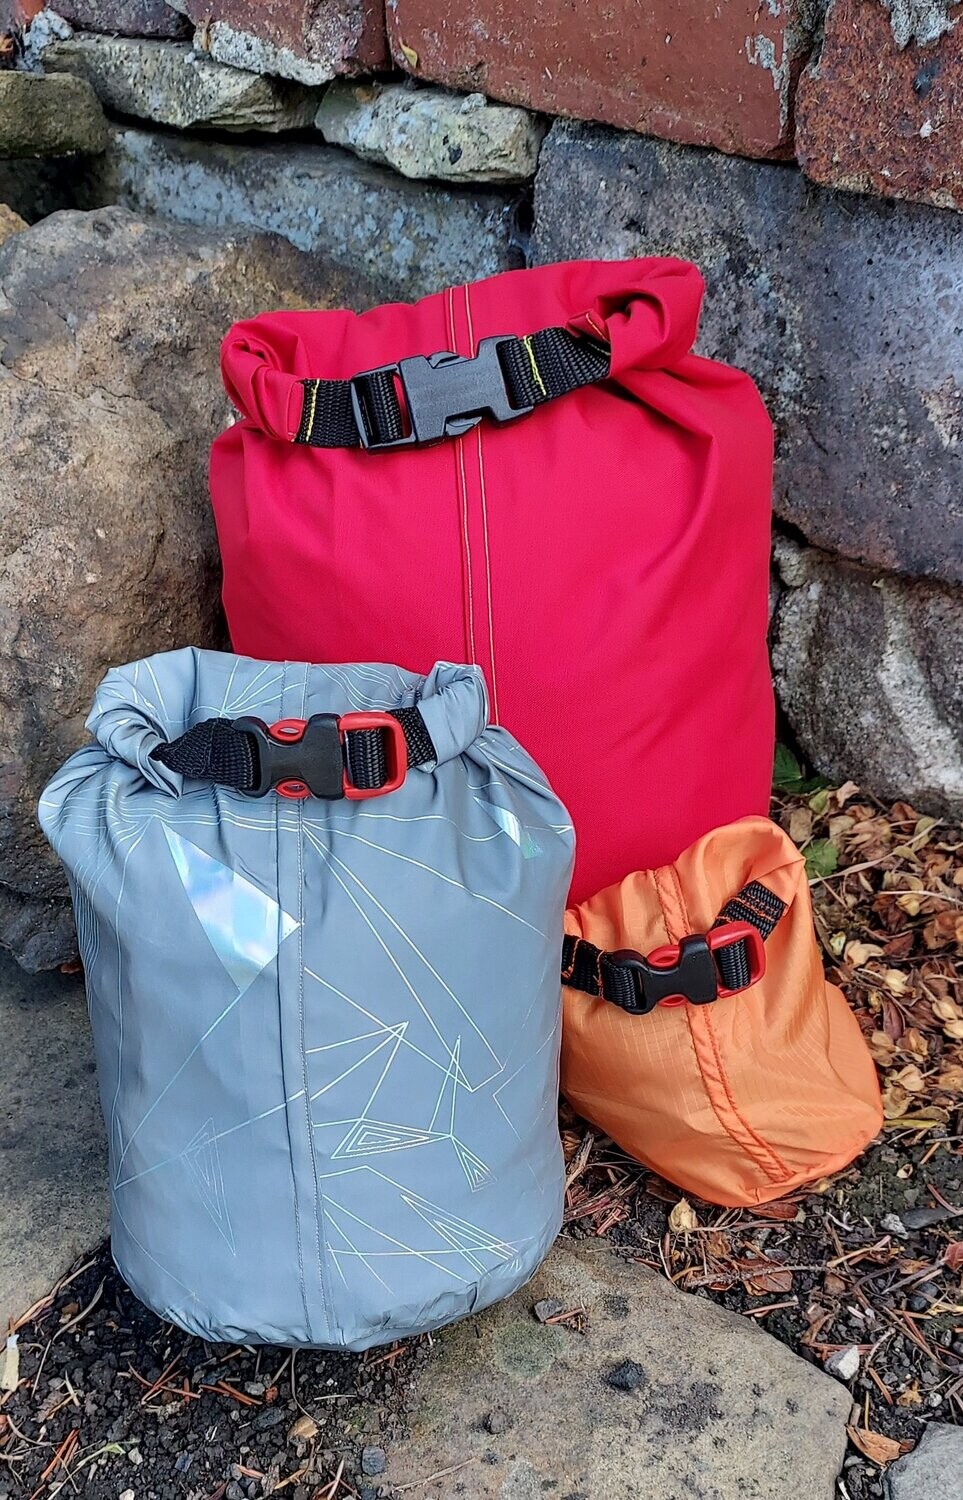
This drybag pattern from Sew Outdoors comes with 10 different sizes of dry bags!
This relatively new sewing pattern company even makes some great suggestions here on what outdoor accoutrements will fit into each size bag.
Wood Carrier
This Wood Carrier Pattern from Noodlehead looks like a very straightforward pattern where you can sink your teeth into hefty fabrics and webbings.
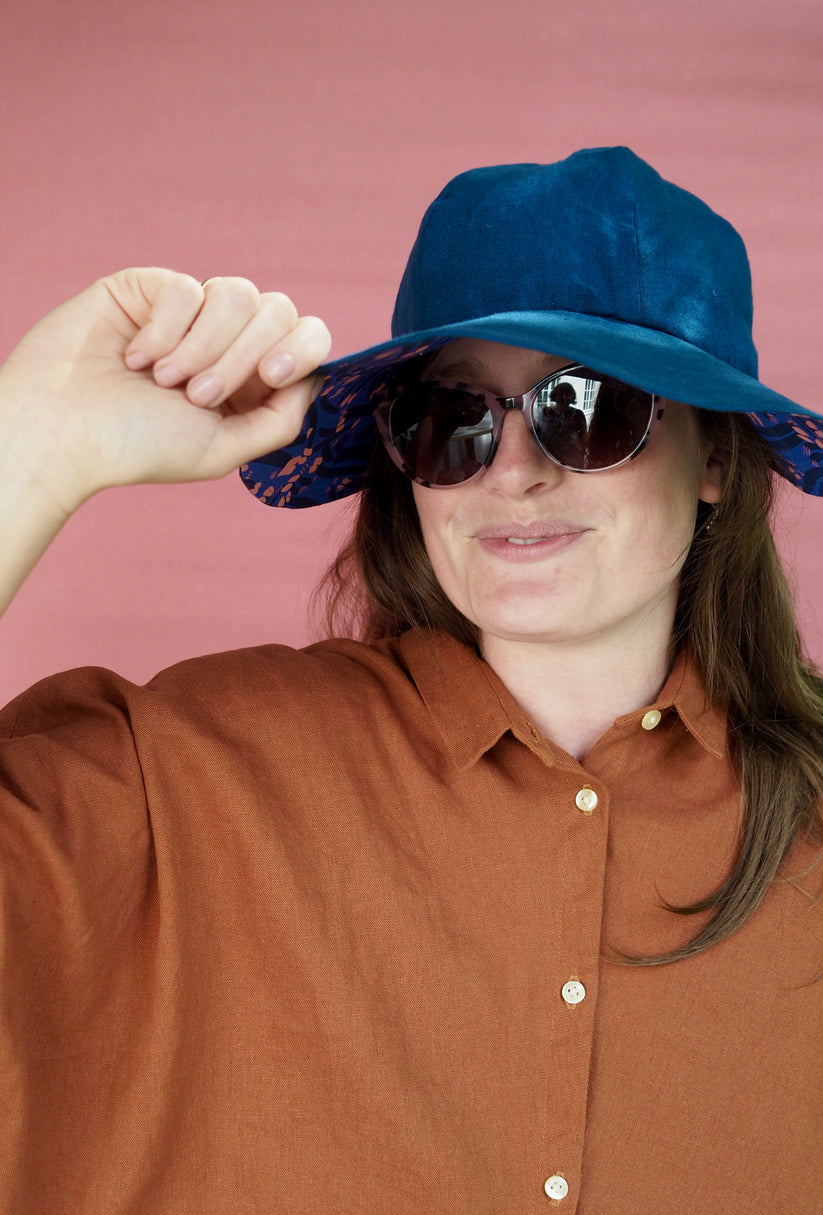
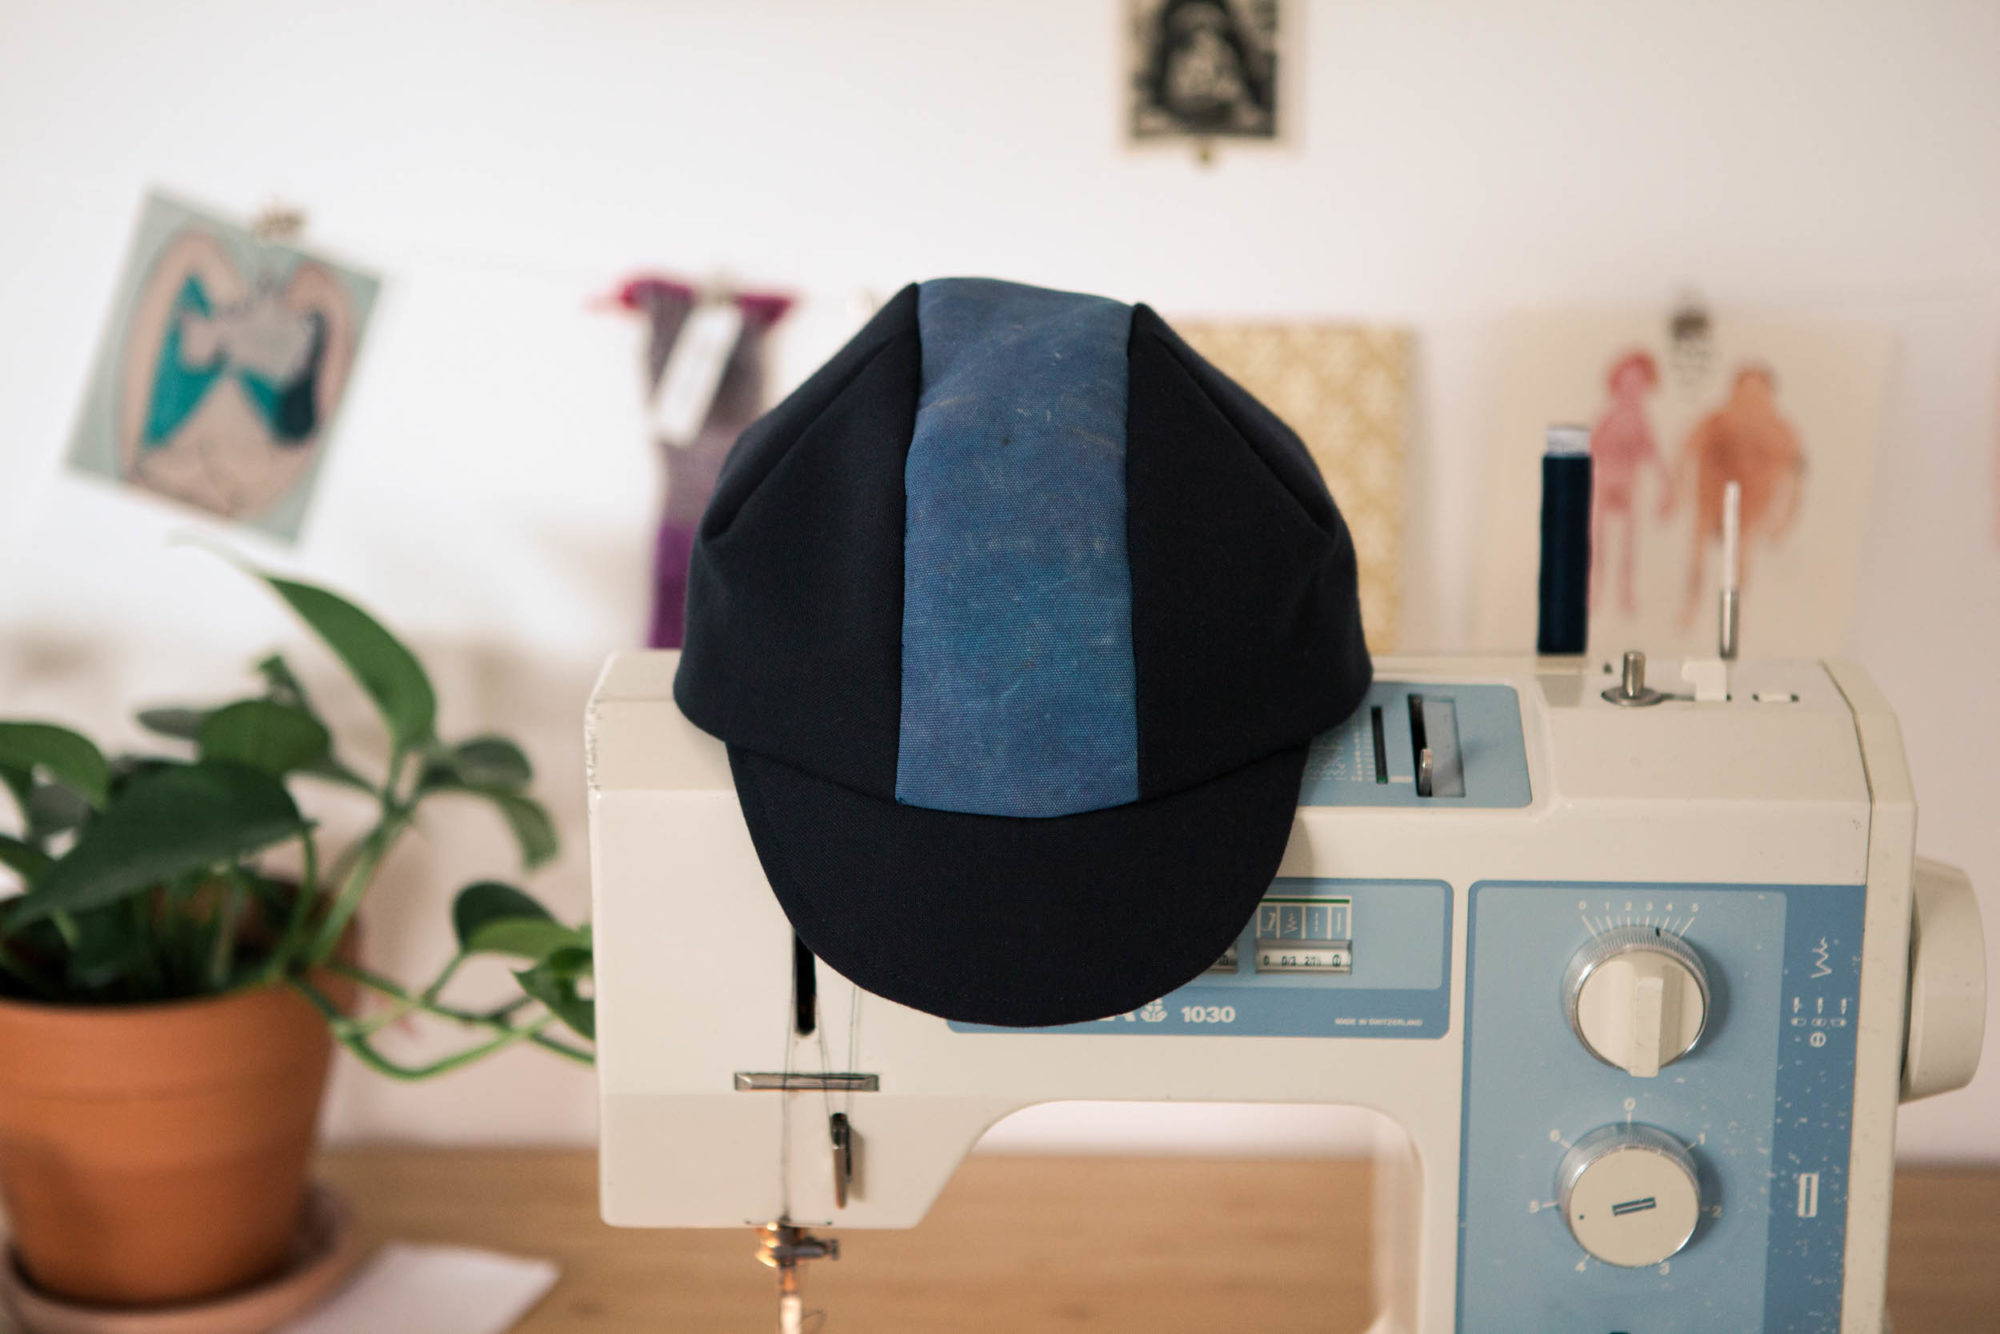
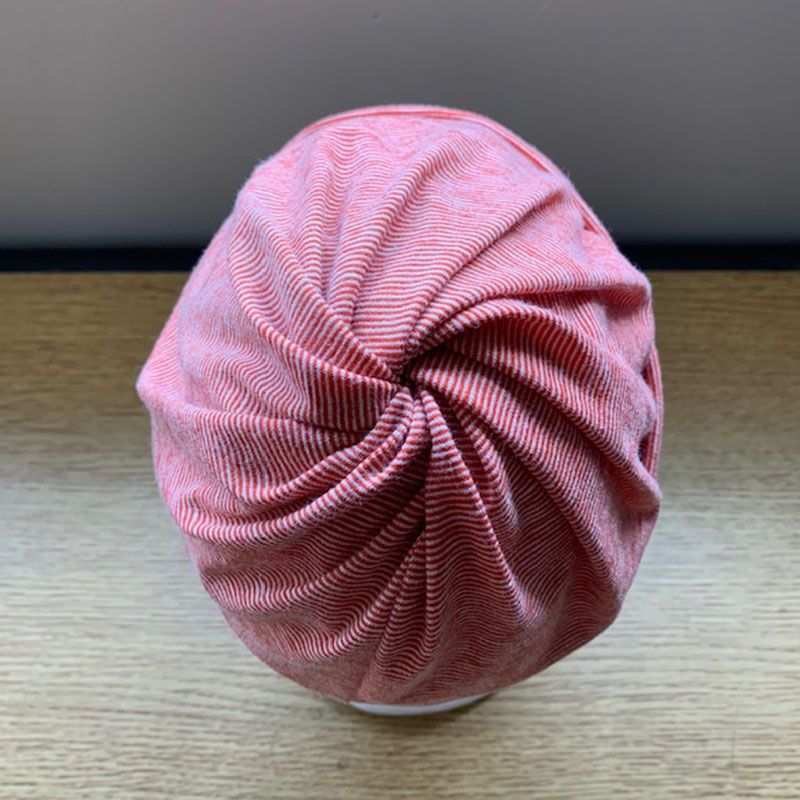
Cycling Hat
This free tutorial steps you through sewing a cycling hat
Activewear?
Are you (or are they) the kind of outdoors person who appreciates activewear? Checkout the roundup of Activewear Sewing Patterns on the blog, which also includes a list of some places where you can buy activewear and outdoors fabric in NZ.
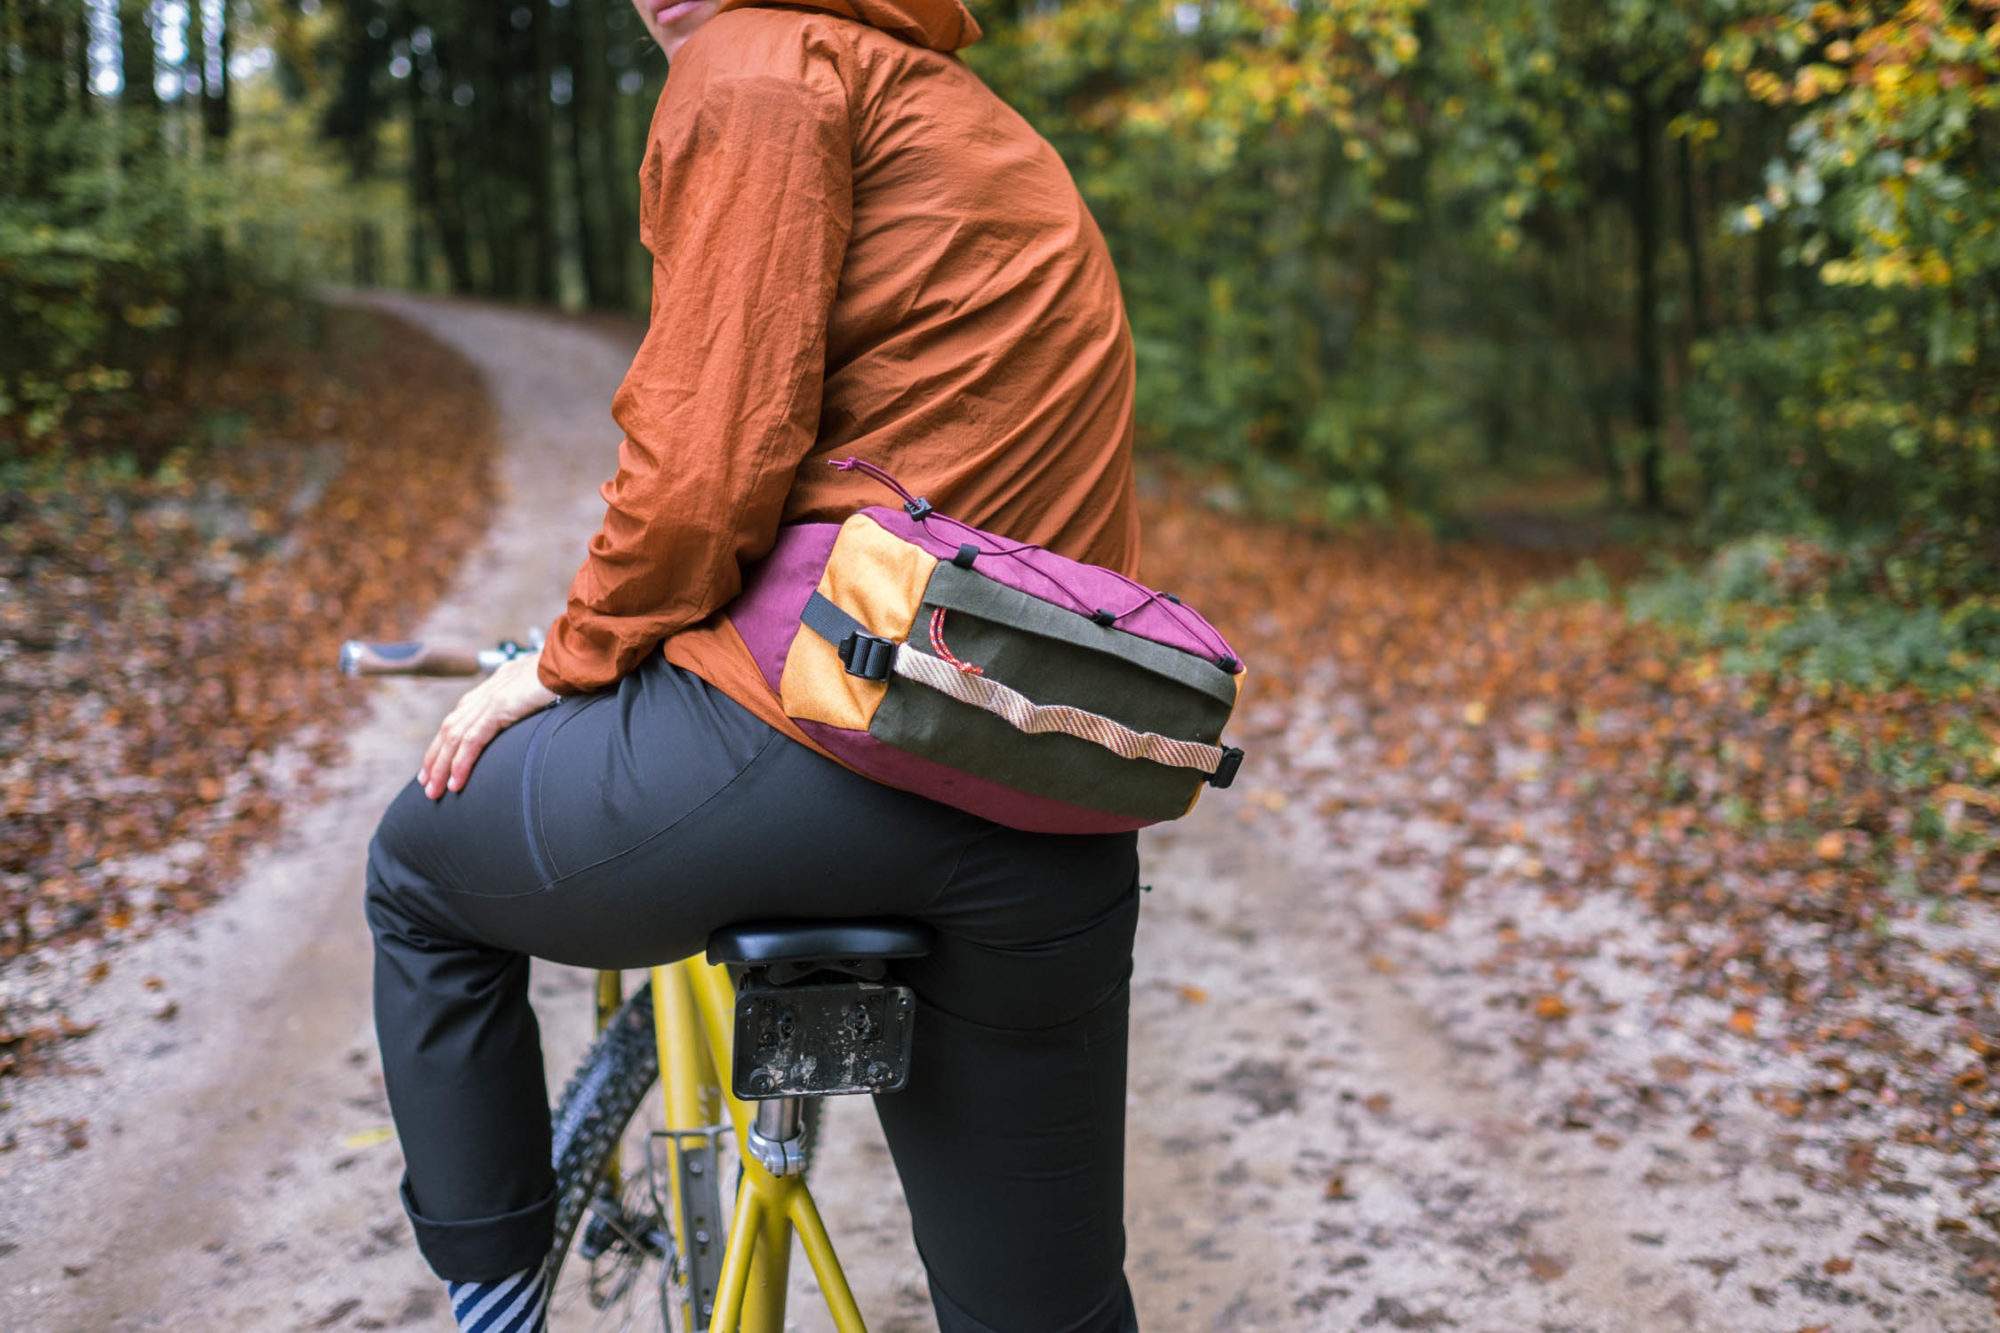
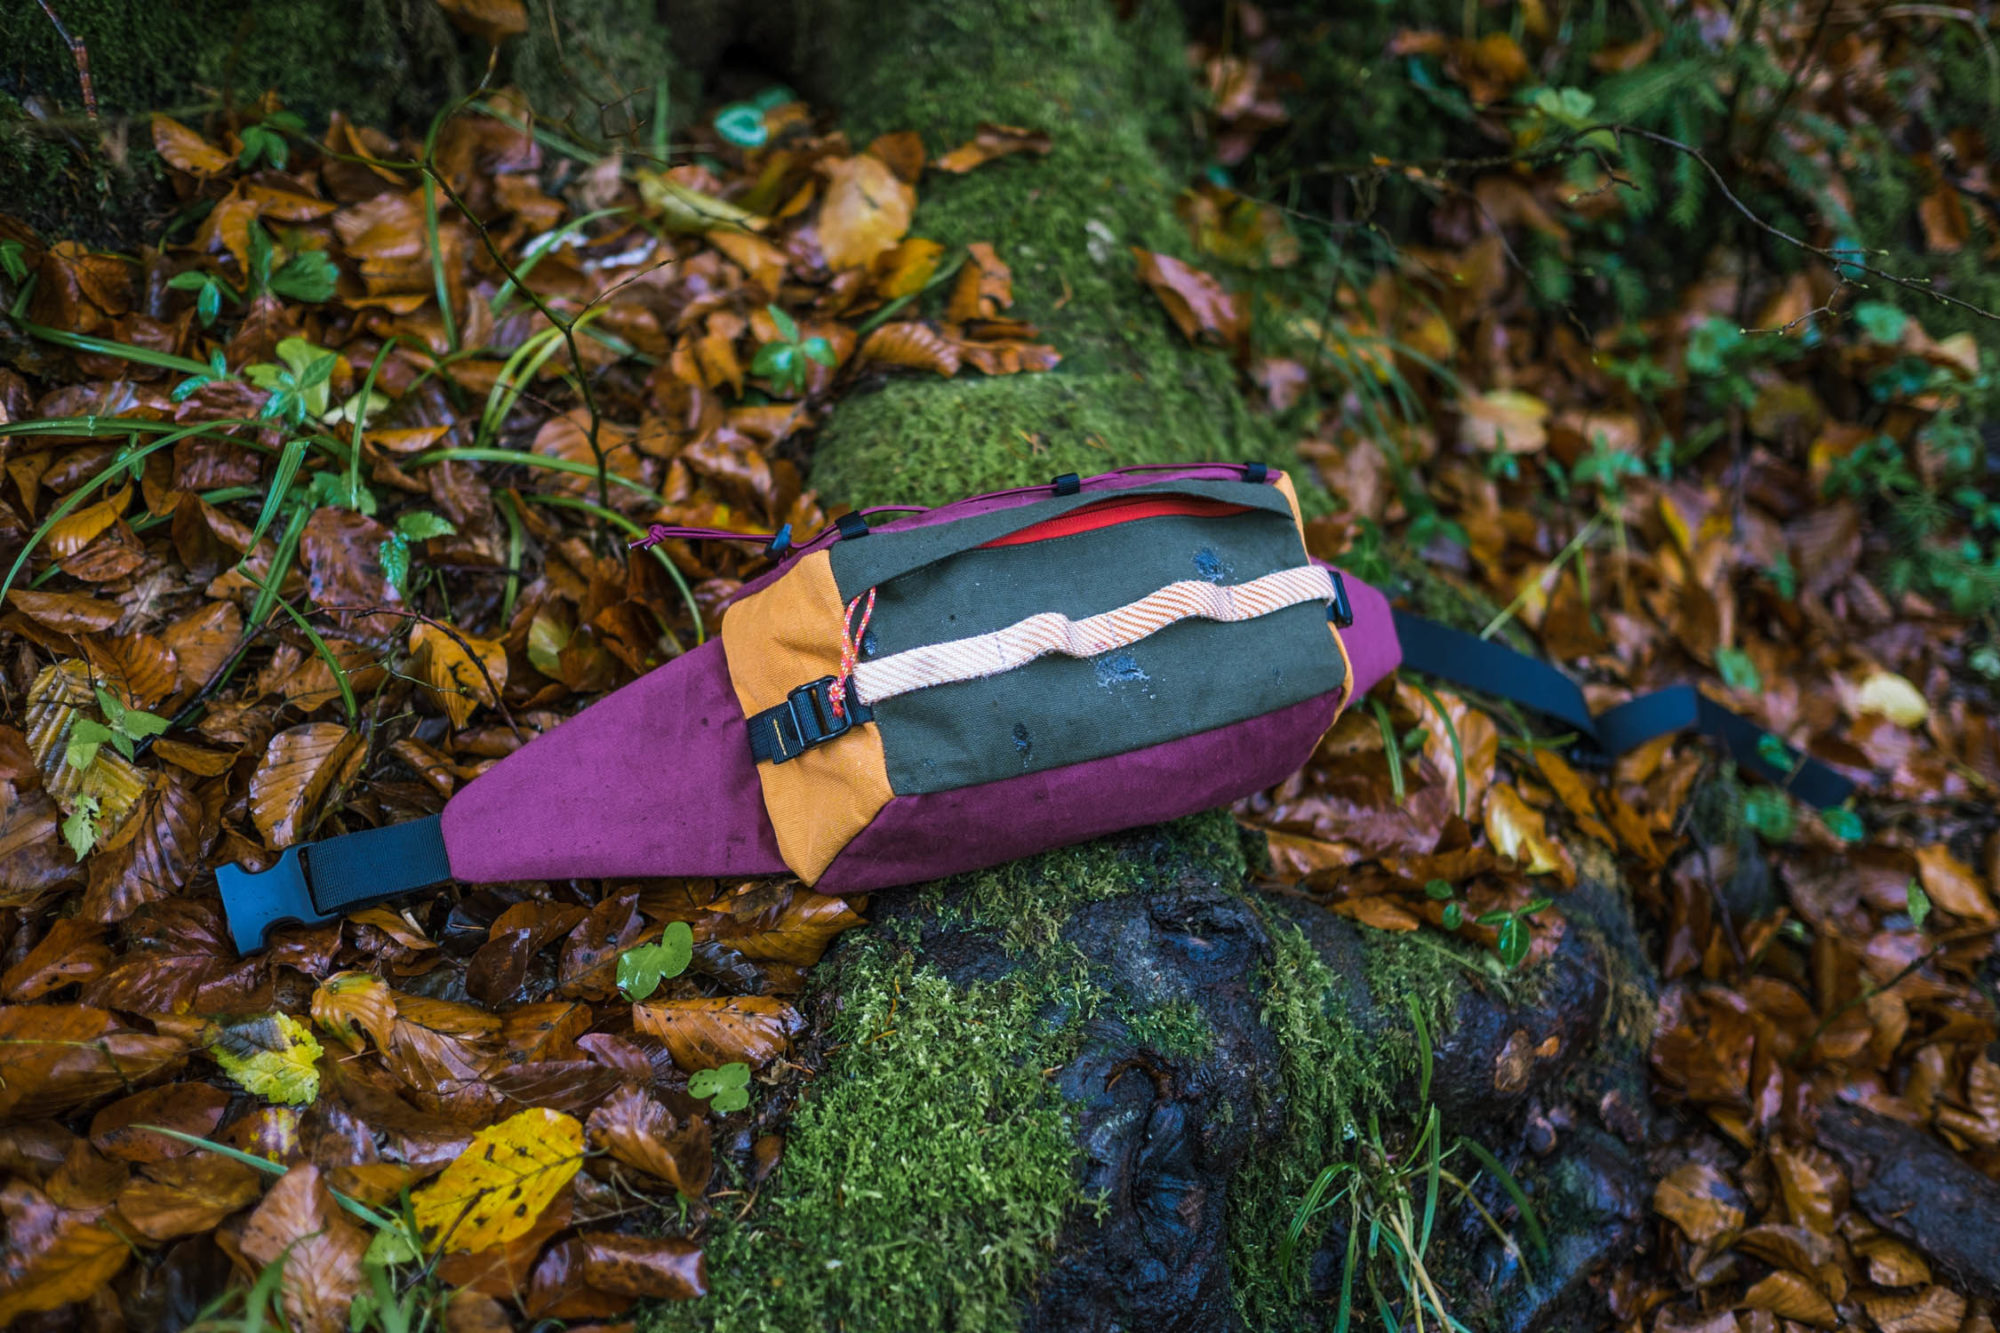
The Stitchback LP
The Stitchback LP looks super outdoorsy but also looks like the kind of pattern which is just asking to be made from primary colours!
Pretty high up on the things I’d never though one could sew for themselves… is this free tutorial for a DIY camping hammock
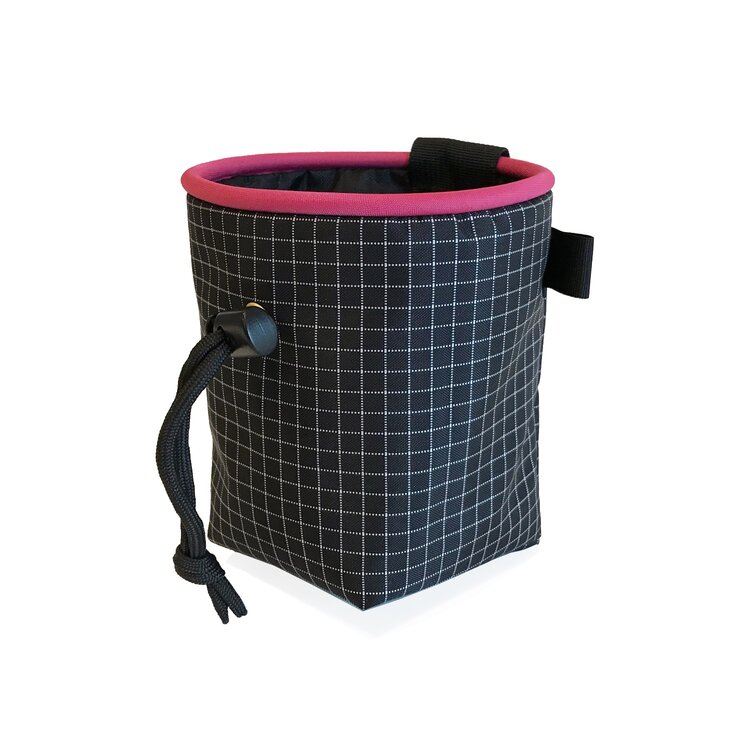
Stitchback Chalk Bag
The Stitchback Chalk Bag is intended for climbing dust… but I see it and think ‘snacks’! Fill it full of dog treats for walkies, or snacks for yourself!
This Balaclava pattern from Grasser (one of several different pattern options)
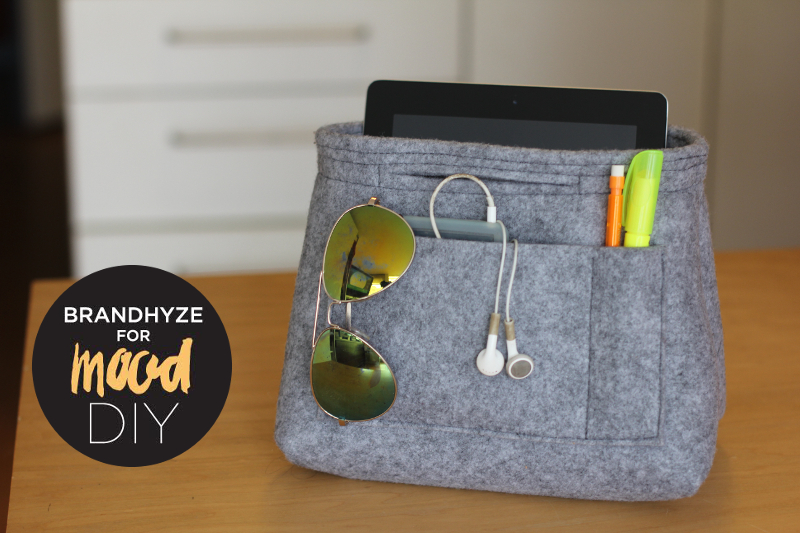
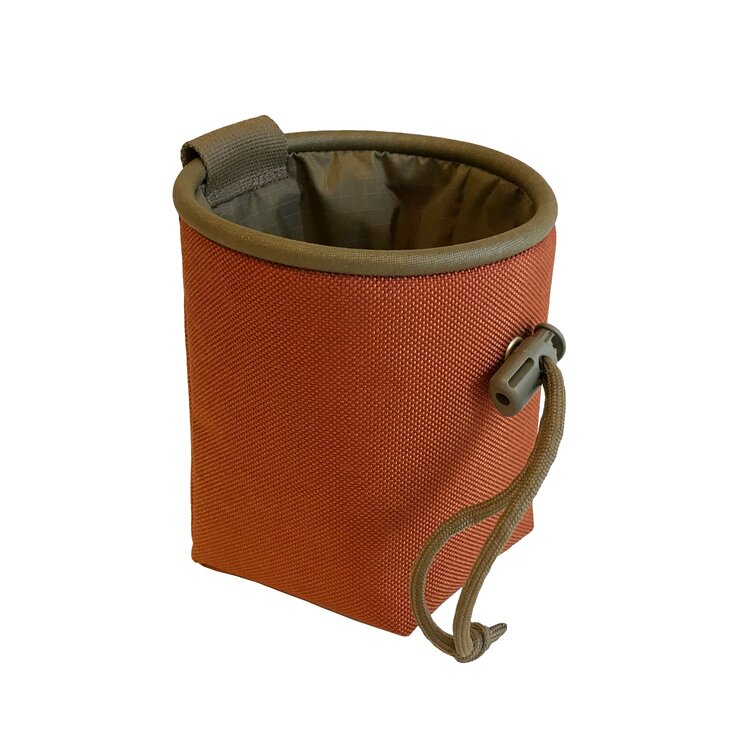
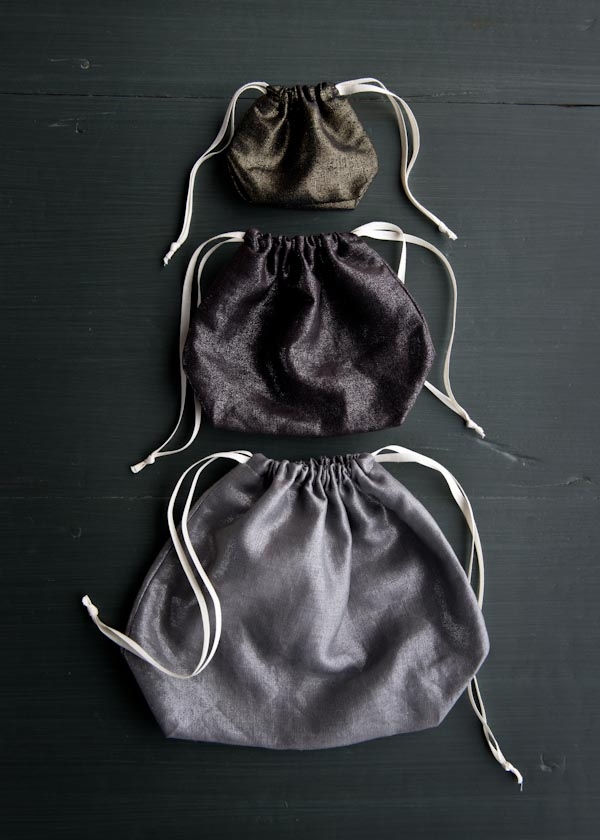
Camp Ditty Bag
This free Camp Ditty Bag Pattern gave such a goreous final product that it didn’t really matter that I had no idea what a ditty bag was for!
Apparently it’s a small bag for your personal effects and important bits (like if you’re a scout), and the idea is that you keep things in one place close at hand.
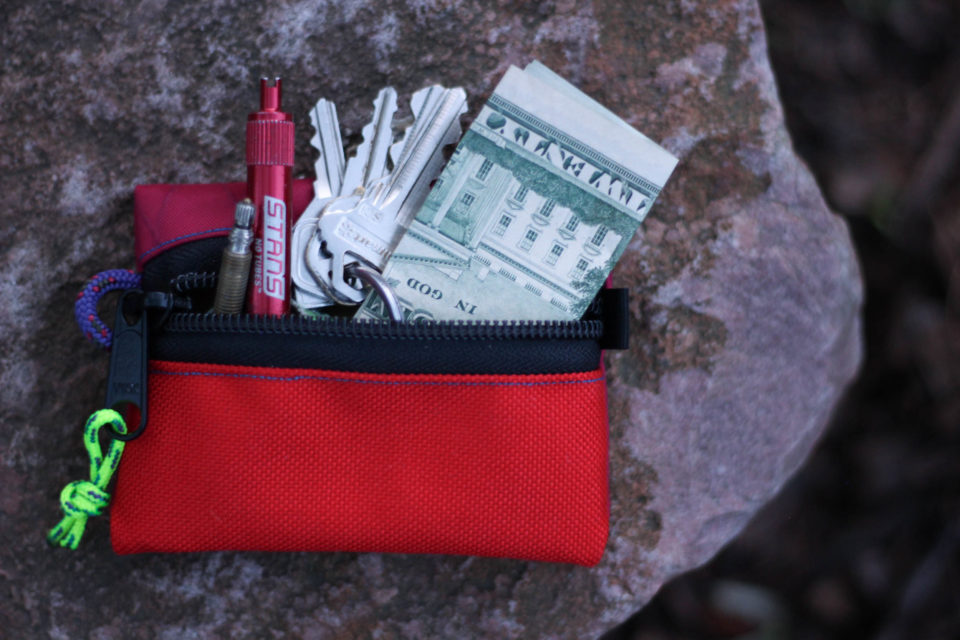
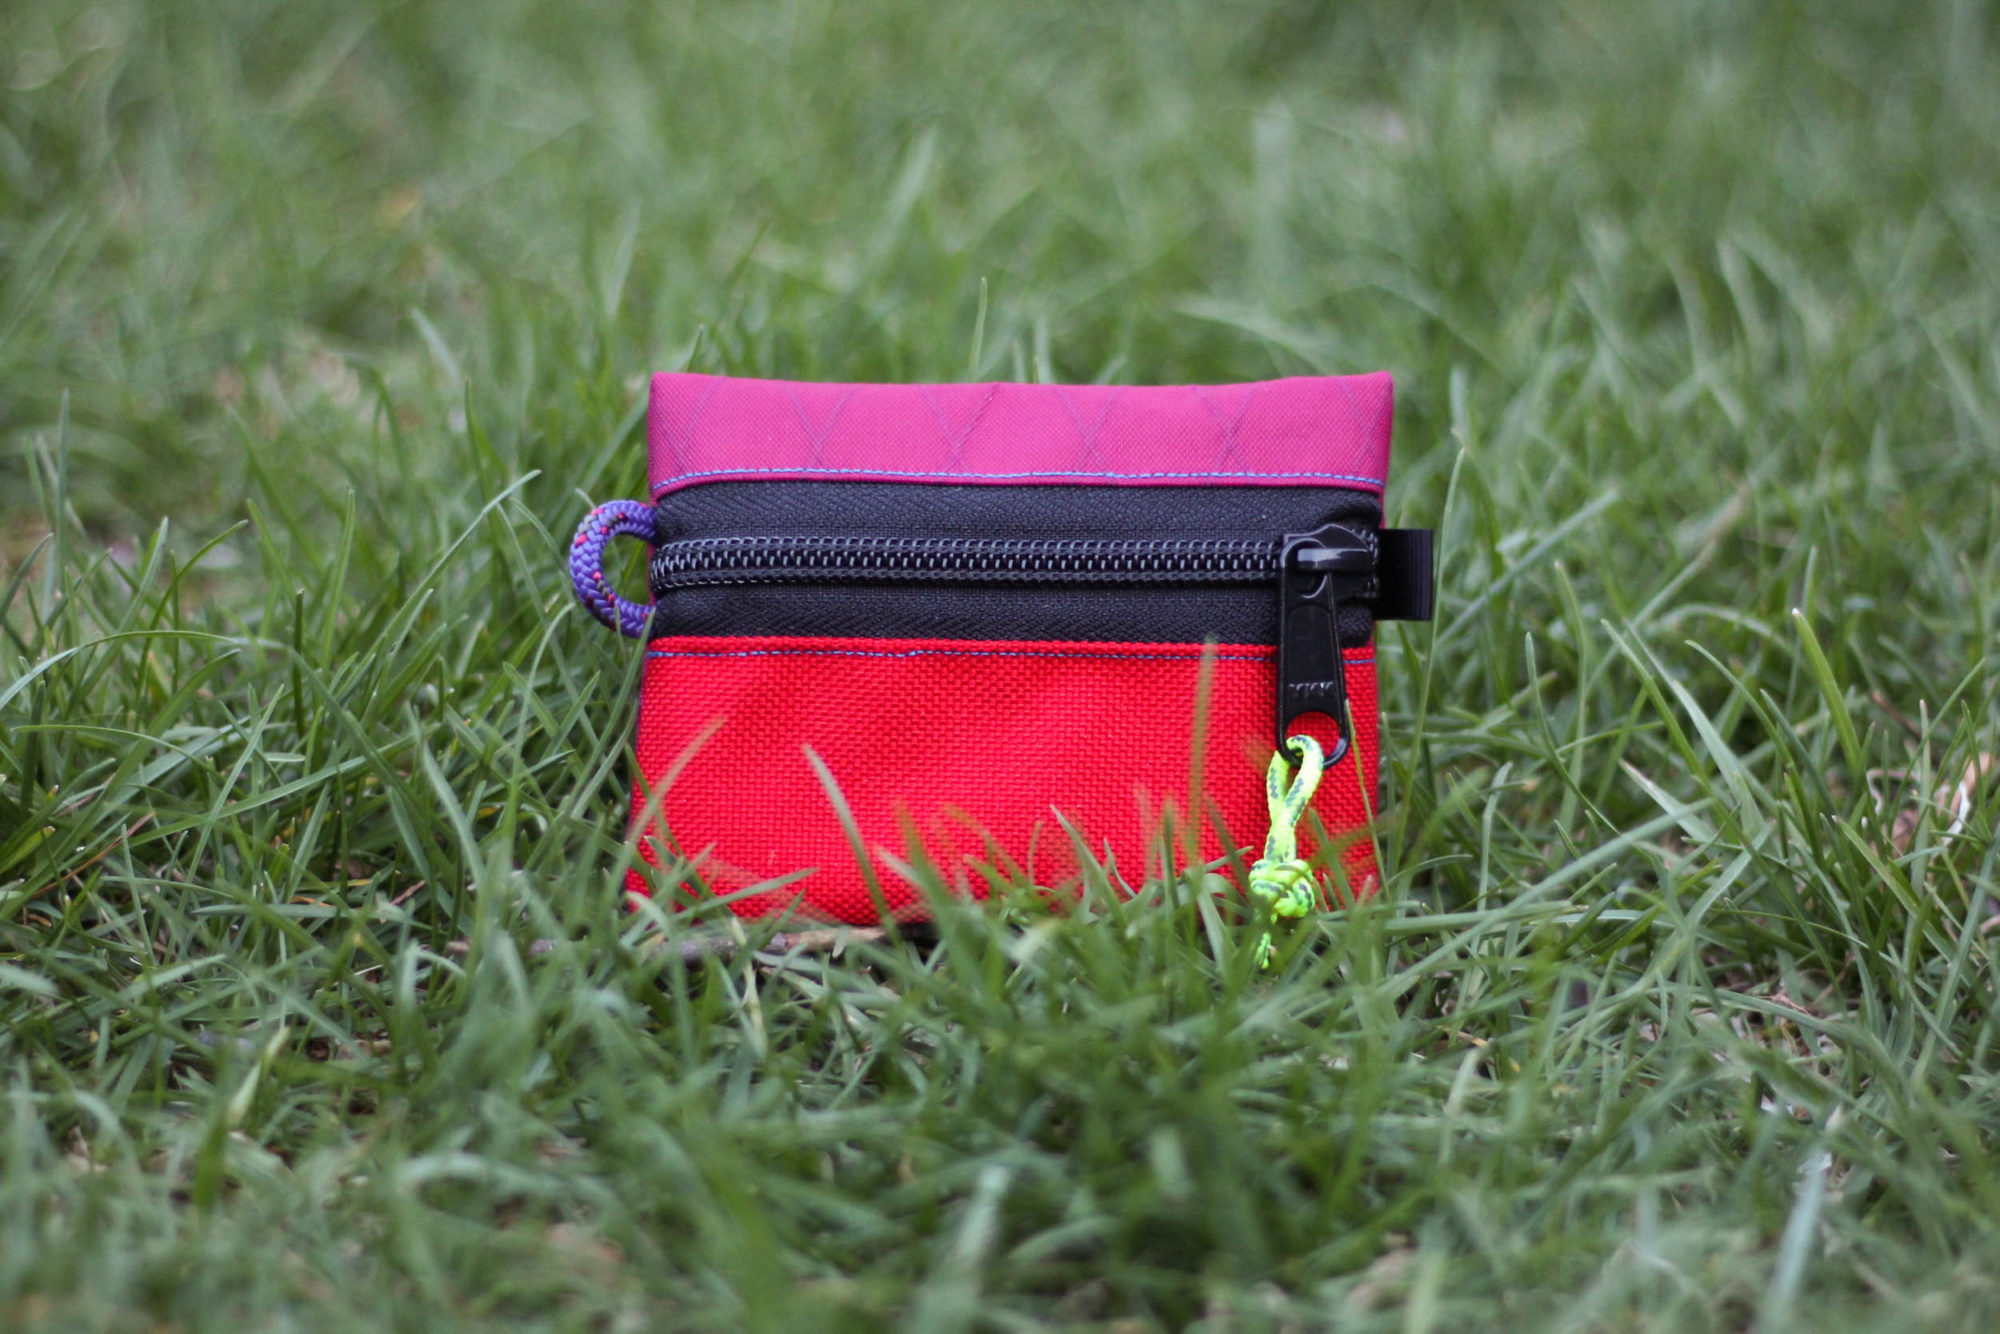
Trail wallet
This free trail wallet pattern is designed for carrying only the essentials!
Want to get printing?
Email your PDF pattern files through to hello@chchsews.com to get started. A0 printing is $6 per sheet.
In the spirit of giftable items, here’s a project that I made a little while ago, but which has taken some time to make it onto the blog as a tutorial…
A waterproof backpack cover that’s great for rainy days cycling or hiking but which also has reflective tape which makes it extra handy for evening safety!
Materials
Waterproof fabric (like ripstop) I used 1m but it depends on your bag measurements
Round elastic, to thread through casing
Toggle to fit elastic
Reflective tape, enough to extend past the edges of your bag
I used fluro ripstop and I sewed on the reflective tape and didn’t bother doing anything to seal the back to make it super waterproof. I based the construction on this pack cover, which I snuck into the store and looked at, in person.
The piece of fabric that I cut out, ended up looking like this. I basically made sure the backpack was as full of stuff as it ever would be, and then I measured the length, depth, height, etc. all round. Basically, I wanted to create a shape that would kind of mirror the backpack, and leave enough for me to fold over the hem to add elastic to.
Below, the red dots indicate the top and bottom extremities of the bag, with the 16″ being the top and the 22″ being the length of the sides (ish)
I did make a toile to make sure that it fit, by cutting fabric out according to the scheme and sewing up the 4 sides (no proper finishing). I decided that I was happy with that, so cut into my ripstop fabric. I actually just serged the 4 corner parts together (with my matching fluro overlocking thread) and then I turned back a hem, then folded that under and used the overlocker (with the blade still engaged) to basically cut and re-attach the hem as a casing.
That sounds confusing to explain, but I had the bag on the table, right side facing down. I folded back the hem (so the hem was facing me), and then I flipped that underneath, so that it was facing the right side. This meant that when I was overlocking, I was feeding 3 layers in, overlocking the edge where the red overlocked section is above.
This made a casing where I threaded through some round elastic/stretchy cord, which I threaded through a toggle and then knotted and burnt to seal off.
Before threading the elastic through though, I sewed on the high-vis reflective tape (that stuff is strangely expensive). I had intended to leave the middle part open so that a bike light could be slotted right there for peak visibility, but I was informed that that was unnecessary. Stick on tape could have been an interesting thing to try out (but would have made it harder to leave a loop open for the theoretical bike light.
Result?
This cover is now over a year-and-a-half old and it’s held up well to use during the rain and also during the colder months when the sun sets early (the reflective tape makes it extra safe at night), although it could do with a wash after getting a bit grubby from gross wet days cycling on the mucky road.
It’s the time of the year where I start to think about sewing projects for other people! So, in honour of that, here’s 10 bag patterns or free tutorials for you!
It’s that time of year when you’re maybe thinking about stocking-stuffers to buy for yourself.. But maybe you can just send the link to this page to your nearest and dearest and hope they take the hint?
Here’s a roundup of things which are mostly from NZ (with a few Aussie shops thrown in), which concentrates on small businesses. What’s a great makers gift that I’ve forgotten to include? Let me know in the comments!
If you’ve read these Dupe posts before then you know they’re really just an excuse for me to dump a heap of info all in one place, and also a thing I use to justify how I’m always looking to find the exact fabric that has been used to make clothes!
In this episode, I also tell you where to find double gauze in NZ and drop some links to what might be new-to-you fabric stores!
Duplicate these looks
The Matilda Dress from Cool Stitches would be a lovely dupe for this summery dress.
Dupe this cornflower blue silk top with the Barons Dress from Daughter Judy Patterns or the LB Pullover from Paper Theory.
Cornflower silk from The Fine Cloth Company would be a great match but I also recommend Fab Fabrics, who frequently has 40% off their silk if you’re an email newsletter subscriber.
Double gauze in NZ?
Here’s a little list of places that I’ve spotted with double gauze, ordered vaguely by price, from lowest to highest.
Use the Belemnite Dress from Marilla Walker and silk crepe de chine from Hawes and Freer in Auckland or the silk cdc from The Fine Cloth Company in Wellington to replicate this sage green dress.
For a cheaper fabric, a tencel twill from The Fabrics Shop in Otara could work.